Saturday, June 10, 2023

THIS IS NOT BASQUE BURNT CHEESECAKE

 
Is this the original Basque burnt cheesecake? It's a quesada, not from Basque Country but from nearby Cantabria. High oven temperature gives the cheesecake a deeply browned top. 

This is not your Basque burnt cheesecake, the recipe that’s been trending for a couple years. This one, from Cantabria, may actually be the original. Cantabria is the region on the north coast of Spain, on the Bay of Biscay, that borders Basque Country. Santander, just up the pike from Bilbao, is its capital.


Inland Cantabria has verdant mountain valleys pasturing dairy cattle and nary an olive tree. Hooray for butter! And cream! And, cheese! The cheesecake of Cantabria, called quesada pasiega, is made with fresh cheese curds before they are compacted and aged to become queso pasiego. The cheese, made from cows’ milk, comes from the Valles Pasiegas, the valleys of the Pas and Miera rivers and their tributaries. 

The cheesecake is made with fresh cheese curds. Like the Basque version, it has no crust.


The quesada is good on its own, with fresh fruit or compotes, with sweet mosto wine. It's rich--but not decadent.


The cheesecake, like the more famous Basque version, has no crust. The Cantabrian recipe calls for queso fresco, fresh cheese, and butter instead of cream. Taking a cue from a Spanish blogger, Miriam García of El Invitado de Invierno, I decided to make my own queso fresco. (How-to for making queso fresco follows the cheesecake recipe.) However, if you’re not into cheesemaking, make the cheesecake using creamed cottage cheese in place of the queso fresco. It’s much more like the original than is Philadelphia cream cheese. 

If using queso fresco or cottage cheese, beat the curds with mixer or food processor until they are smooth and creamy. If they are very dry, add a little cream or whey. 

The quesada pasiega is usually baked in a flat square pan and cut into squares for serving. I chose to bake it in a parchment-lined, deep springform pan, making it much like the Basque cheesecake. It bakes at a high temperature, which caramelizes the sugar and egg, giving the “burnt” aspect. Careful, though, It’s not really burnt, but deeply browned.The cake will puff up like a soufflé, but deflate as it cools. Although It may not seem completely set when removed from the oven, the cake will set as it cools.

Cantabrian “Burnt” Cheesecake
Quesada al Estilo de Cantabria

Fresh chees curds and butter for this cheesecake.


3 cups (28 ounces) queso fresco (recipe below) or creamed cottage cheese
¼ teaspoon grated lemon zest
3 ounces unsalted butter, melted and cooled (1/3 cup)
1 cup sugar
4 eggs
½ cup flour
¼ teaspoon cinnamon
Pinch of salt

Line pan with parchment.


Preheat oven to 425ºF. Line a 10-inch springform pan with baking parchment. (To fit a square of parchment into the mold, first fold it in quarters. Pleat or crumple the parchment, unfold it and tuck it into the bottom of the pan. Trim off excess.)

Drain off excess liquid from the cheese. Beat the cheese until creamy and smooth with mixer or in a food processor. Beat in the lemon zest and melted butter. On low speed, beat in the sugar, the eggs one at a time, the flour, cinnamon and salt. Do not over-beat. 

Not burnt! Deep brown.


Pour the cheese batter into the baking pan. Set in the middle of the oven. Bake the cheesecake until browned on top, about 35 minutes. It will not be completely set in the center. Remove and cool on a rack. 

When completely cool, refrigerate the cheesecake, still in the pan, for at least 8 hours. When ready to serve, remove from the springform. Spread open the parchment. Either slice the cake right on the parchment or carefully remove the parchment and place the cake on a platter.

Cheesecake puffs up like a soufflé, deflates as it cools.


Fresh Cheese Curds
Queso Fresco de Vaca

A tiny bit of rennet.

Rennet (cuajo) is an enzyme that causes milk to coagulate, that is, to separate into curds and whey, the first step in cheesemaking. Although there are vegetal and microbial rennets, most cheeses are made with animal rennet. Buy rennet in liquid, tablet or powdered form. In Spain, cuajo can be purchased in tiny jars at the farmacia, drug store. (Junket, cuajada, from which you can make milk pudding, contains rennet, but is not suitable for cheesemaking.) The concentration of the enzyme varies with different presentations of the rennet, so consult the package directions for quantities to use. You will need very little rennet for two quarts of milk. Use non-chlorinated water to dissolve the rennet.

Use pasteurized or raw milk for the cheese. Sterilized (UHT) milk will not work. No additional cultures are needed to make fresh cheese. (If you are into real cheesemaking, you will want to find out about cultures, calcium chloride, acidity, etc.)

Fresh cheese curds.
For the cheesemaking process you will need a method to keep the milk warm. An insulated container such as that used for yogurt-making, a turned-off oven, a container set over hot water (double-boiler). 

After draining, you will have loose, creamy curds, that, beaten smooth, can be used in the cheesecake recipe. Or, dribble them with honey and serve as dessert. Combined with salt and flavored with herbs, they make a good dip or spread for toasts.  If you press out more of the whey and compact the curds, they will make a fresh cheese that can be sliced or crumbled. The whey (suero) can be used in cooking or discarded. (My attempt to use the whey to make requesón/ricotta was not successful.)

Improvised double-boiler.
Makes 32 ounces of fresh curd cheese.

Utensils needed
Large double-boiler or nesting pans
Thermometer 
Colander
Cheesecloth or butter muslin for draining the cheese
Ladle

¼ teaspoon powdered rennet
2 tablespoons non-chlorinated cold water
Few grains of salt
10 cups whole cows’ milk (2½ quarts) 
2 tablespoons plain yogurt, room temperature

In a small bowl combine the rennet powder, cold water and salt. Stir to dissolve. (Use the rennet solution within 30 minutes.)

Place the milk in a pot and set it over a larger pot of boiling water. Place cheese thermometer in the milk. Heat the milk to 110ºF/45ºC. Stir in the rennet solution and the yogurt. Turn off the heat under the pan of water or leave it on low so that the temperature of the milk stays at about 100ºF/38ºC. Leave the milk without stirring for 1 hour 15 minutes until it has coagulated and separated into curds and whey. 

Drain curds in cheesecloth.

Line a colander with cheesecloth or a thin kitchen towel. Place the colander over a deep bowl or pan. Carefully ladle the curds and whey into the colander. Cover and refrigerate at least 12 hours or up to 20 hours.

Scrape the curds into a covered container and store refrigerated. (If a more firm cheese is desired, gather the cheesecloth up and squeeze the curds tightly to express as much whey as possible. Salt lightly and store covered and refrigerated.)


Fresh cheese curds are white, sweet. They can be salted and flavored for spreads or squeezed and compacted to make a firmer fresh cheese.


Is Basque Burnt Cheesecake really Basque? Here's another opinion (in Spanish):  The Changeability of Basque-ness.


More about cheesemaking:


Saturday, June 3, 2023

THESE FISHBALLS ARE GATHERING STEAM


Chinese bamboo steamer in my Spanish kitchen.

Look what I’ve got! A Chinese bamboo steamer, inherited from a friend. I’ve never used one before. Steaming foods is not a thing in Spanish cooking. 


Searching for ideas, I pulled out the only Chinese cookbook in my collection, The Thousand Recipe Chinese Cookbook by Gloria Bley Miller (Grosset & Dunlap; 1970). Besides a useful how-to section, I found lots of recipes for steamed food. One of them sort of clicked, because it sounded so Spanish—steamed fishballs. The recipe calls for Sherry, but no soy sauce. With only a few adaptations, I turned it into a Spanish dish worthy of any tapa bar. 

Steaming makes very moist and delicate fishballs, so it’s a perfect technique for lean and flaky white fish such as sole or hake. I used (fresh) cod (which comes to Spain by air from Norway). The fish is not minced, but hand-cut into thin, short strips, so the balls have texture. I’ve added shrimp to both the fishballs and the sauce. 

Fish balls on two tiers cook over simmering water in a covered bamboo steamer.

Steamed fishballs, ready for plating. They are made with cod and shrimp, Sherry, mushrooms, serrano ham, red bell pepper, parsley.

Fishballs are served with sauce of shrimp stock and sherry with a few shrimp.


Steamed spinach goes nicely with the sherried fishballs.

A three- or four-tiered steamer, of bamboo or stainless steel, is perfect for cooking several foods at one time. If you don’t have a steamer, improvise with a heatproof colander or a shallow bowl set on top of an inverted cup in the bottom of a lidded pot. If using a bamboo steamer, to prevent foods from sticking to the slats, line the steamer baskets with leaves, such as cabbage, lettuce or grape, or cut a disk of baking parchment and poke holes in it for steam to pass through. 

Use a pan/skillet/wok wide enough to set the steamer in. Add water to the pan so it just comes up to the bottom rim of the steamer. Don’t let water into the basket where foods are placed. Bring the water to a full boil, turn heat down to a simmer, place the steamer with lid in the water, and allow the food to steam. The fishballs need 8 to 10 minutes. You may have to remove the lid and take one out to test it. For longer steaming, replenish with hot water so the pan never cooks dry. 

Steamer for vegetables too.
A steamer, of course, is great for simply steaming vegetables. I cooked a bunch of fresh spinach in it to go with the fishballs. If foods to be steamed include marinades, sauce ingredients, oil, place them in a shallow bowl and set the bowl in the steamer. 

The recipe for fishballs in the Chinese cookbook calls for dried black mushrooms, smoked ham, bamboo shoots, Chinese cabbage and ginger root. I have substituted dried níscalos (Lactarius deliciosus), serrano ham, red bell pepper and chopped parsley. I used olive oil to make the shrimp stock, adding a decidedly Spanish touch to the fishballs.


Steamed Fish and Shrimp Balls with Sherry Sauce
Albóndigas de Pescado y Gambas al Vapor, con Salsa al Jerez 

Sherry, Spanish ham to flavor fishballs.

Makes about 22 (1 ½-inch) balls

For the shrimp stock:
8 ounces small whole shrimp
Fish bones and trimmings (optional)
2 tablespoons olive oil
1 slice onion
1 clove garlic
4 cups water
½ teaspoon salt
1 bay leaf

For the fish balls:
¼ cup dried mushrooms
1 pound skinless cod fillet
1 ½ tablespoons cornstarch
1 tablespoon dry Sherry
1 egg white
¼ cup finely chopped parsley
¼ cup chopped red bell pepper
¼ cup chopped serrano ham
½ teaspoon salt
Freshly ground black pepper
Leaves or baking parchment to line steamer

For the sauce:
1 cup shrimp stock
3 tablespoons dry Sherry
1 tablespoon cornstarch
3 tablespoons water
Shrimp
Chopped parsley 


Use shrimp heads, shells for stock.
For the shrimp stock:
Shell the shrimp, saving the heads and shells. Refrigerate the shelled shrimp. Heat the oil in a pan. Add the heads and shells, the slice of onion and the clove of garlic, lightly crushed. Fry the shells for 2 minutes. Add the water, salt and bay leaf. Bring to a boil, simmer 20 minutes, until liquid is reduced by half. Strain the stock and reserve it. Discard the solids. (Only 1 cup of the shrimp stock is needed for the sauce. Save the remainder for another use.)


Make the fish balls
Cover the dried mushrooms with hot water. Soak them for 10 minutes (or according to directions on the package). Drain the mushrooms (the water can be added to the shrimp stock). Chop them finely.
Cut fish in slivers; chop shrimp.

Slice the cod very thinly, then chop or sliver it. Set aside some of the shrimp to use in the sauce. Chop the remaining shrimp. In a mixing bowl, combine the cornstarch, Sherry and egg white. Add the cod and shrimp and stir to mix well. Add the parsley, mushrooms, red pepper, ham, salt and pepper. Combine well. 

Line bamboo steamer baskets with strips of cabbage leaves or a circle of parchment paper. (If using the parchment, poke holes in it with a skewer so steam can rise.) 

Form balls by hand.

The fish mixture will be quite squishy. Make walnut-sized balls of it by pressing in the palm of the hand. Place them in the steamer baskets about an inch apart. Stack two or more tiers, as necessary. Add enough water to the large pan or wok to come up to the bottom rim of the steamer basket. Place on high heat and bring the water to a boil. Reduce the heat so the water simmers. Place the steamer in the pan of water and cover the steamer with the lid.

Steam the fishballs until they are firm, 8 to 10 minutes. (Remove the lid and take out a fishball to test it for doneness.) Remove the steamer from the heat. Remove the lid to release the steam. Using protective gloves, lift the steamer out of the pan of hot water. 

Steamer basket is lined with baking parchment that has been perforated so steam can rise. The other basket is lined with pieces of cabbage leaves. 

For the sauce
Heat the shrimp stock with the Sherry until the alcohol has cooked off, 2 minutes. In a small bowl, stir together the cornstarch and water. Whisk the cornstarch into the shrimp stock and cook, stirring, until the sauce thickens. Remove from heat and add the reserved shrimp. Stir in the reserved chopped parsley.

Serve the fish balls with the Sherry sauce. 

Fishballs with Sherry/shrimp sauce.


Here are some more sauces that would complement the steamed fishballs: 


Not Spanish, not Chinese, I'm going to slather those leftover fishballs with some creamy horseradish sauce. 

Another recipe for steamed fish: Hake Steamed with Seaweed.

Saturday, May 27, 2023

THESE SARDINES ARE SMOKIN’!

 
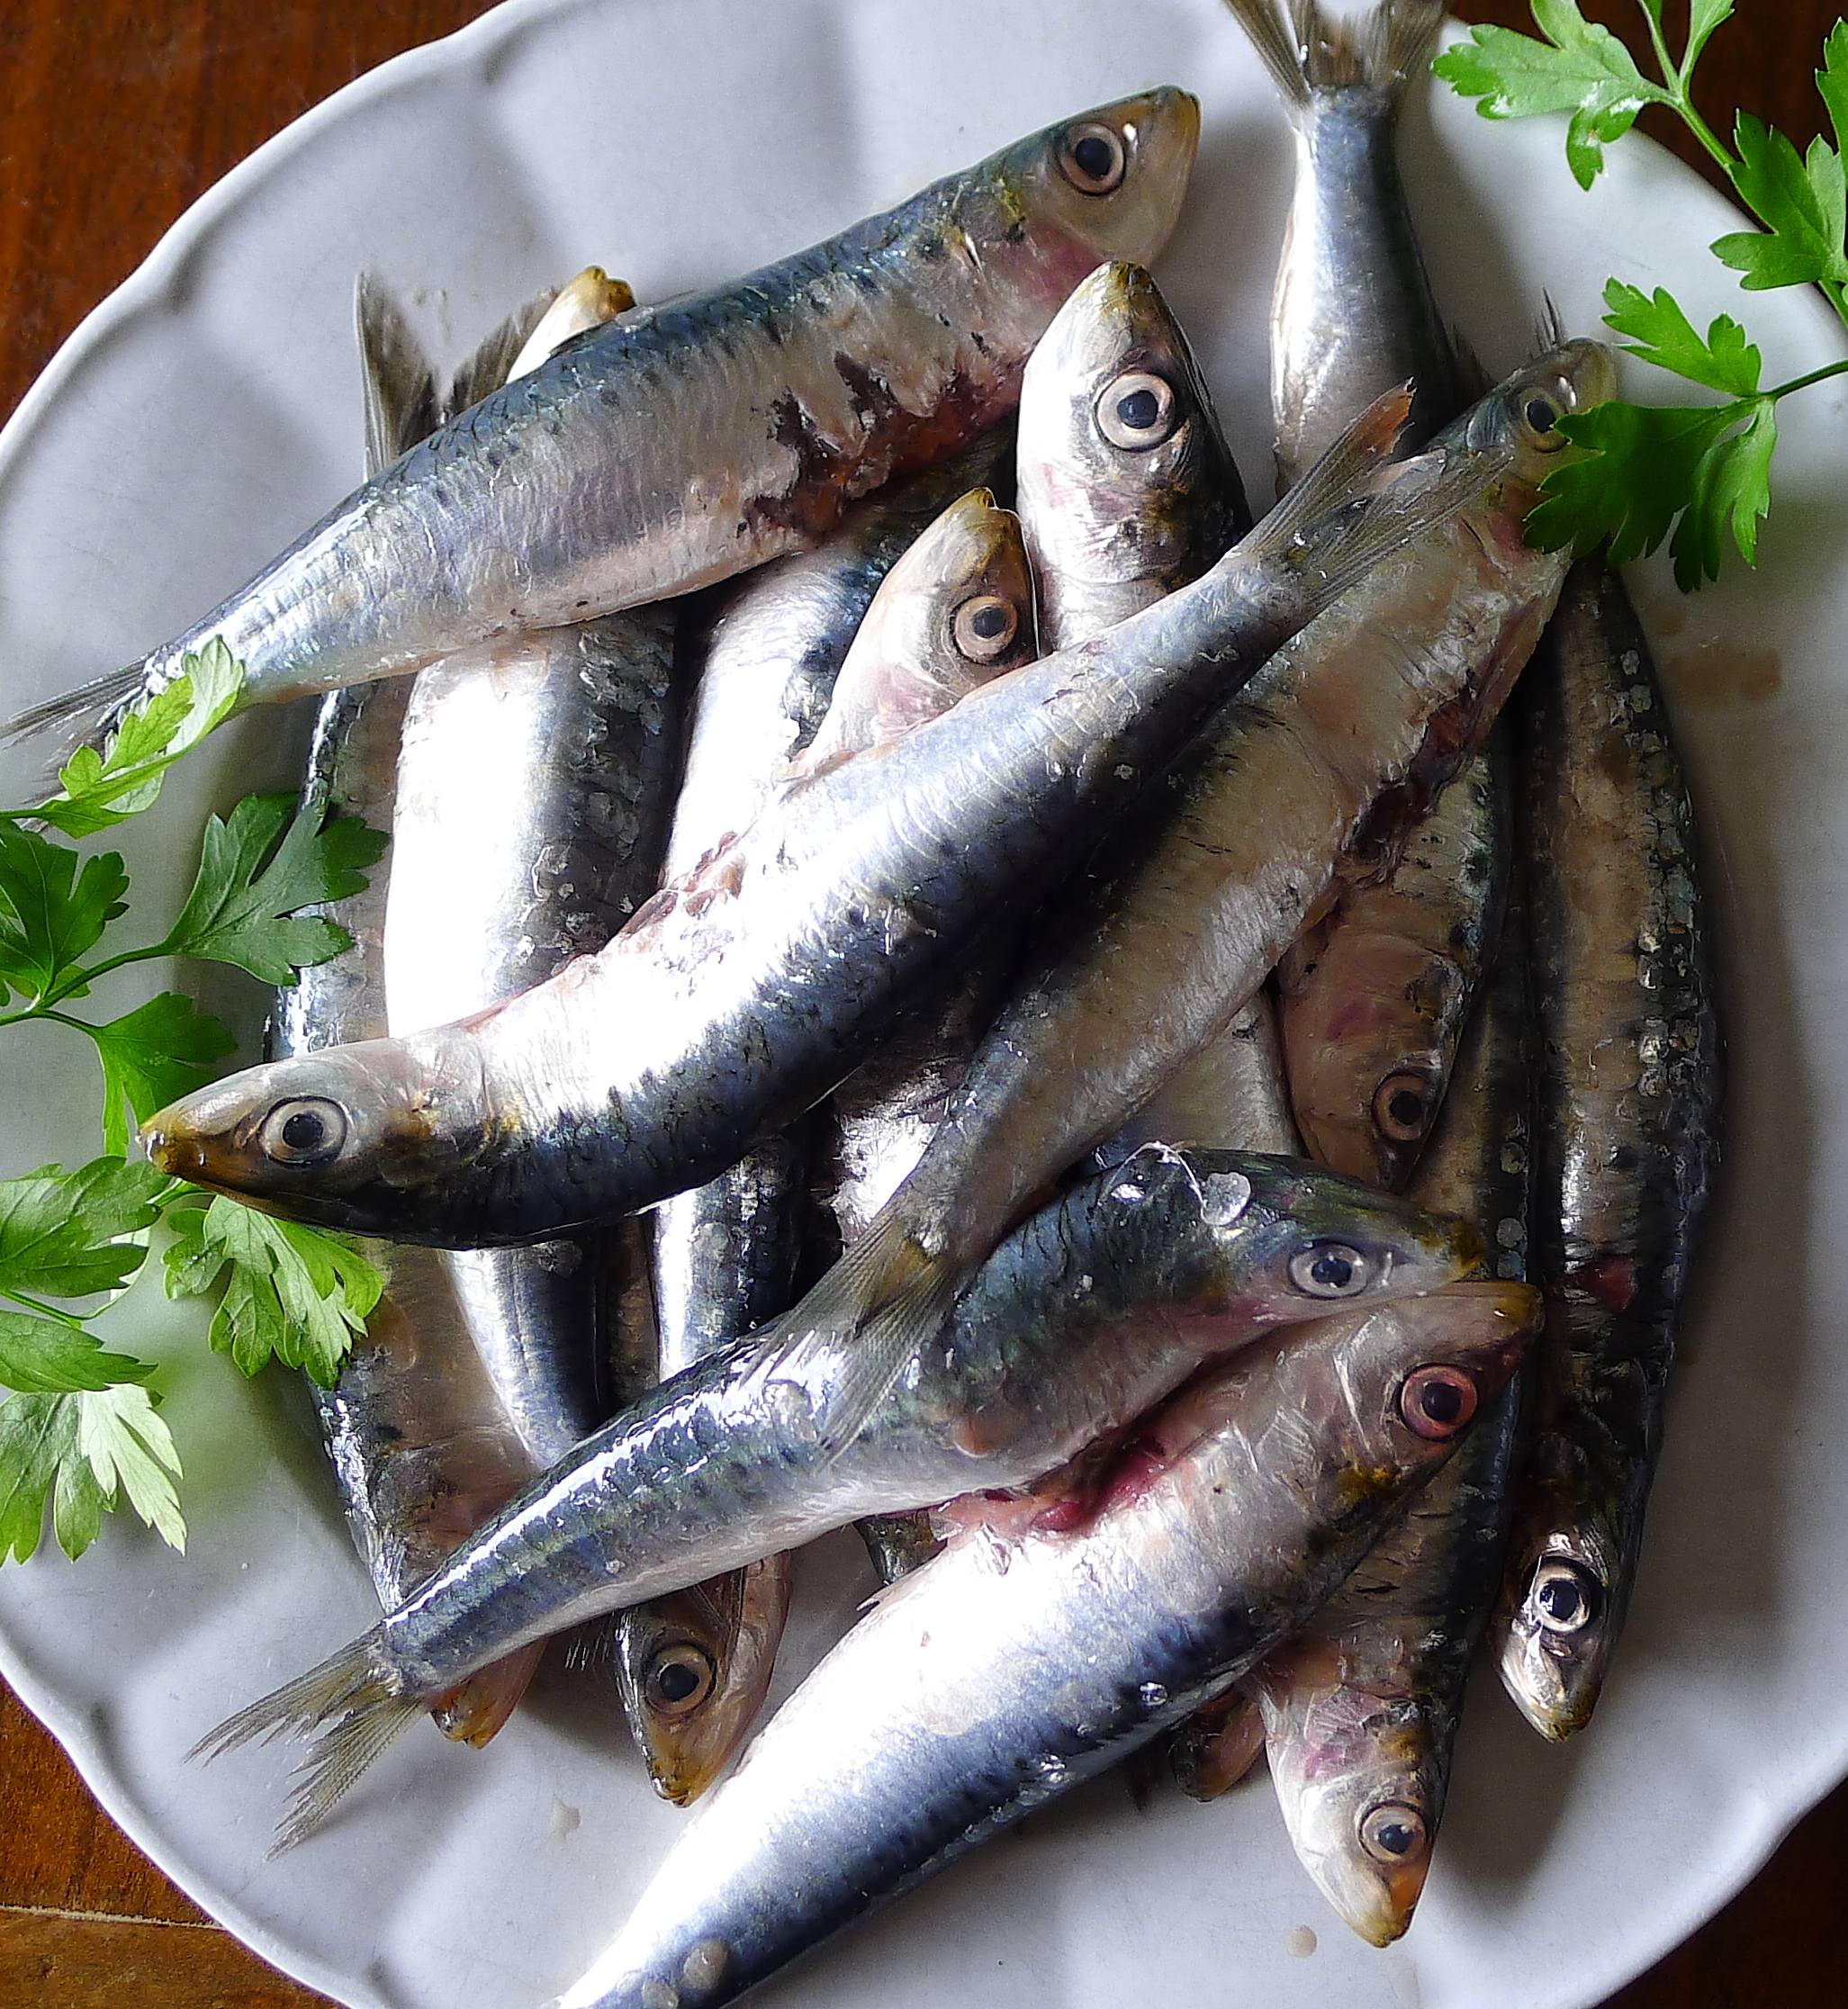
Summer is the season for fresh sardines. 

Sardine season has arrived! ¡Que vivan las sardinas! Head for the beach to enjoy espetones, sardines skewered and grilled on a wood fire. Bake them with wine and pine nuts. Flour and fry the tiny ones. Get fancy with stuffed sardines. Add a vinegar marinade for escabeche, a terrific cold dish for summer. (See the links below for these recipes.)


“Smoked sardines” appear on chefs’ menus, but I haven’t been able to find them in cans. So I decided to smoke some myself. The process is pretty simple and no special smoker is needed. It does require several steps, starting five days in advance.

A plate of smoked sardines, ready to serve. 


Serve smoked sardines drizzled with olive oil on toasts. Strips of piquillo pepper are a good contrast.


Two-toned smoked sardine fillets are due to smoking in two batches. The second batch is not so bronzed, as it needed to have the smoking herbs replenished. Next time I will know.

Unzip sardine bones.

1. Clean the sardines, fillet them. (Unlike canned sardines, the sardine bones won’t soften with cold-smoking.) Soak the fillets in ice water for one hour. Drain and dry them well.

2. Freeze the filleted sardines for 5 days. As the sardines will be cold-smoked (no direct heat), freezing eliminates any possible parasites that occur in raw fish. (For more information- plus recipes- about freezing fish for raw consumption: HOW NOT TO COOK YOUR FISH.)

3. Thaw the sardines overnight in the refrigerator. Dry them on layers of paper towels. 

Place fillets on layer of salt.


4. Layer the sardines with coarse salt. Leave them to cure, refrigerated, 30 minutes. Rinse off the salt and pat them dry. Air-dry them in a cool place one hour.


5. Line a heavy pan or flat-bottomed wok with foil. Place (store-bought) wood powder or chips, dried herbs, grape-vine twigs on top of the foil. Place a rack over the herbs. Cover the pan and place it on high heat until the contents are dried and beginning to smoke. 

6. Place the sardine fillets on the rack in a single layer. Cover the pan. Heat on high until smoke fills the pan. Reduce heat to low and smoke the sardines 10 minutes. 


Sardines smoke on a rack in a covered pan.


Equipment and ingredients needed
Paper towels
Coarse salt
Heavy pan with tight-fitting lid, preferably glass in order to gauge smoke
Aluminum foil
Rack to fit inside the pan
Dried herbs such as rosemary, thyme, fennel, lavender, bay leaf, citrus leaves, grape-vine twigs or store-bought wood chips or powder. 

Smoked Sardines
Sardinas Ahumadas

Cut sprigs of fresh herbs several days before smoking and allow them to dry. Do the same if using, for instance, lemon peel or twigs of grape vines or fruit wood. You can also purchase wood chips or sawdust for smoking. You are not going to set the herbs on fire, but simply heat them on the stove until they begin to smoke. Lining the pan with foil prevents blackening the pan. 
 
For the quick cure before smoking, you will need enough coarse salt to completely cover the sardine fillets. Sugar, black pepper, herbs, lemon or other aromatics can be added to the salt, if desired. These very small fish need only 20 to 30 minutes curing time. Longer and they will be way too salty. Likewise, they are fully smoked in 10 minutes. Longer smoking causes their flesh to harden. 


How to serve smoked sardines:
Serve smoked sardines on toasts as an appetizer. Toss them with salad greens and vinaigrette. Mash them with creamed cheese and lemon juice to make a spread. Chop them into a chowder. Serve them, along with fried green peppers, as topping for a pan of migas (fried bread crumbs). Toss with spaghetti. 


1 pound fresh sardines (approx. 20 fish) 
1 cup coarse salt (8 ½ ounces)
1 tablespoon sugar
Sprigs of dried rosemary or thyme
Bay leaf
Citrus leaf or strip of lemon zest
Aromatic stove-top wood chips or powder (optional)
Extra virgin olive oil

Soak sardines in ice water.
Five days before smoking the sardines

Clean and fillet the sardines: Working on several thicknesses of newspaper, slide off the scales from the tail to the head. Cut off the heads and remove the guts. Grasp the top of the spine between thumb and forefinger. With the thumb and forefinger of the other hand, loosen the flesh around the spine and draw it down, “unzipping” the fillets as you go. Use kitchen scissors to cut away the spine, leaving the two fillets attached on the dorsal side and at the tail. Wash the fillets well and place them in a bowl. Cover them with salted ice water and let stand 1 hour.

Dry sardines on paper towel.
Freeze the sardines. Rinse the sardines again. Pat them dry on paper towels. Place in a covered container and freeze them for 5 days. Thaw the sardines overnight in the refrigerator.

Cure the sardines in preparation for smoking
Combine the salt and sugar. Spread a layer of the salt mix in the bottom of a lidded container (glass or ceramic is best, plastic is acceptable). Spread a layer of sardine fillets, skin-side down, on the salt. Cover them with more salt. Add another layer of sardines and cover with salt. 

Cover the container and refrigerate for 20 to 30 minutes. Remove the sardines from the salt. (Discard salt.) Wash the sardines in cold water. (If the sardines are not to be smoked immediately, cover and refrigerate them until ready to finish the process.) Dry the sardines on paper towels.

Place the sardine fillets on a rack in a cool, airy place or, uncovered, in the fridge so that their surface dries before smoking.

Place dried herbs, wood powder on foil in pan.
Smoke the sardines
Use a heavy pot with tight-fitting lid. Line the pot with foil. Place sprigs of rosemary or thyme, bay leaf and citrus leaf or lemon zest and wood powder, if using, on the foil. Place a rack on top of the herbs. Put the lid on the pot and place it on a high heat until the contents are dried and beginning to create smoke. 

Lay the sardines, skin side down, in a single layer on the rack. Return the pot to the heat. When the pot again fills with smoke, lower the heat to medium and smoke the sardines 10 minutes. Remove the pot from the heat and remove the lid. Carefully remove the rack with the sardines.

If smoking a second round of sardines, to create more aromatic smoke, add a few new sprigs of the dried herbs to the ones already in the bottom of the pan.

Place the smoked sardines on a serving plate. Drizzle them generously with olive oil. If they are to be stored, place the sardines in a container with a lid, cover them completely in oil and refrigerate them, covered, up to 1 week. 


More recipes with sardines: