Showing posts with label onions. Show all posts

Saturday, September 6, 2025

LOOK, MA, NO TEARS!

 
No-cry onions are flavorful, good for stuffing.

Are they mutants? I’ve got onions from the garden so mild that chopping them doesn’t bring tears to my eyes. I don’t know whether this bonus trait is due to the variety of onion or if, perhaps, it’s because the crop was allowed to “mature” in the earth a month instead of being dug up while their tops were still green.


If you are not blessed with tear-free onions, here are several ways to avoid tears when peeling and chopping them  (none of which are very successful): chill the onions in the freezer 10 minutes before chopping; peel them submerged in a bowl of water; cook unpeeled onions in boiling water 10 minutes; wear swimming goggles to protect the eyes. Our onion crop did not flower and produce seeds, so their extraordinary qualities are not retrievable. 

No tears!
In any case, I am celebrating onions with this recipe from Asturias for stuffed onions. In Asturias, the principality/province on the northern Cantabrian coast of Spain, the dish is made with bonito de norte, albacore tuna, that is fished in local waters. Albacore, also called “light tuna,” is best but any canned tuna or salmon can be used. 

Onions stuffed with tuna are braised in tomato-wine sauce. 


Serve the stuffed onions with bread for sopping the delicious sauce. 


Stuffed Onions, Asturian Style
Cebollas Rellenas al Estilo de Asturias

Use any variety of onion but try to choose those of similar size. (I had only four medium onions, so I used the remaining stuffing mixture for a red bell pepper.)

Prepared tomato sauce goes into both the stuffing and sauce. Make homemade sauce, if desired, or open a can of store-bought tomate frito.

If you use a large roasted bell pepper, one pepper, divided in half, is sufficient for the stuffing and the sauce. If using small piquillos, use 2 for the stuffing and 2 more for the sauce. 

An earthenware cazuela is perfect for slow-cooking the onions on the stovetop. However, clay cooking vessels can’t be used on induction hobs. Choose a pan with lid that is small enough to hold the onions upright.

Serves 6 as a starter.

Albacore tuna from a jar.
6 medium onions (about 5 ounces each) 
10 ounces canned tuna in olive oil (1 cup drained)
1 hard-cooked egg, chopped
Flame-roasted red peppers, such as piquillos, chopped
6 tablespoons prepared tomato sauce
Salt
Freshly ground black pepper
4 tablespoons olive oil
3 cloves garlic, chopped
½ teaspoon pimentón (paprika)
1 cup white wine or dry cider
1 cup water
1 bay leaf

Scoop out onions.
Remove dry outer skins from the onions. Cut enough off the root ends so the onions sit upright. Cut a thin slice off the tops and reserve the tops. Use a melon baller or pointy spoon to scoop out the inner layers of the onions, leaving 1 or 2 outer layers to form a shell. Reserve all the scooped pieces. Place the onion shells on a microwave-safe plate and microwave them on High for 2 minutes.

For the stuffing: Drain the tuna, place it in a bowl, and break it up with a fork. Add the egg, half the chopped peppers, and 3 tablespoons of the tomato sauce. Season with salt and pepper. Divide the stuffing mixture between the 6 hollowed onions. Cover them with the reserved tops.

Place 1 tablespoon of oil in the bottom of a pan of a size to hold the onions snugly. Set the stuffed onions in the pan.

Heat the remaining 3 tablespoons of oil on medium in a skillet. Add the pieces of onion that were scooped out of the onions and sauté until softened, 5 minutes. Add the garlic and remaining chopped peppers. Stir in remaining 3 tablespoons of the tomato sauce and the wine or cider. Cook 5 minutes. Transfer the mixture to a blender and blend until smooth.

Pan with stuffed onions and pepper.
Pour the sauce over the onions in the pan. Add the water, bay leaf, salt, and pepper. Bring to a boil, turn heat to low, cover the pan and cook until onions are very tender when tested with a fork, about 90 minutes. Baste the tops occasionally with the sauce.

Serve the onions and sauce hot or room temperature.


More onions:


***   ***   ***

The video shows several recipes from 
FLAVORS OF AL-ANDALUS--The Culinary Legacy of Spain.


                                                                                       Video by Daniel Searl

My new cookbook,
FLAVORS OF AL-ANDALUS, The Culinary Legacy of Spain, published by Hippocrene Books, is available from your favorite bookseller. For more about what’s in the book, see Meatballs with Backstory. 

This cookbook explores the fascinating story of the deep and lasting influences that Islamic culture has left on modern Spanish cooking. 
Author and Spanish cooking expert Janet Mendel tells the story of the Moorish influence on Spanish cooking through 120 recipes and photographs for modern-day dishes, from salads and vegetables to fish, poultry and meat to sweets and pastries, that trace their heritage to foods served in medieval times. Dishes from this era include exotic spices such as saffron, the use of fruits and almonds with savory dishes, and honeyed sweets and pastries. The flavors of al-Andalus live on in modern Spanish cooking and are what makes Spain’s cuisine distinctive from the rest of Europe. (Hippocrene Books)    

 Order on IndiePubs

Use PROMO CODE HIPPOCRENE40 for 40% off on all Hippocrene titles at IndiePubs online bookstore.

***


Order on amazon


***   ***   ***


Saturday, March 6, 2021

CALÇOTADA--SHEET PAN BROIL

Somewhere in Catalonia, spring onions are roasting on a grill alongside some sausages, maybe lamb chops too. The wine flows. A tangy, nutty romesco sauce awaits the smoky, blackened onions. It’s calçotada season. Calçots are spring onions. Or, actually, late-winter onions. A calçotada is an onion-grilling party. 


Home-style calçotada--spring onions, asparagus, sausage and shrimp roasted under the broiler, served with romesco sauce for dipping.

 
I’m a long way from Catalonia and it’s not an auspicious time for parties. But, I’ve got some locally-grown onions—young, slender stalks with green tops—that might substitute for the authentic calçots (the cultivar from Tarragona province has IGP (protected geographic indication) Calçot de Valls). The required accompaniment to calçots, romesco sauce, is good anytime, anywhere.  

I'm using locally grown spring onions, not authentic calçots.


I’m not grilling for a crowd, so I won’t bother to fire up the outdoor grill. Can I roast the onions on a sheet pan under an electric broiler? 

The broiler (known as a “grill” in Britain and in Spain) may be at the top of an electric oven or, in gas ranges, in a compartment below the oven. Preheat the broiler to “maximum.” Mine preheats to 300ºC (570ºF). The broiler pan, without its rack, makes a perfect sheet pan. Don’t line the sheet pan/broiler tray with parchment paper. Set a timer and watch carefully so the food doesn’t burn.

What to grill for a sheet pan calçotada? Spring onions. Or try skinny leeks. Trim off the roots and tops. Shrimp in their shells. Sausages. I haven’t got typical Catalonian butifarra, so I’m using uncured (raw) chorizo criollo. Asparagus. Lamb chops, if they're not too thick, would work on the sheet pan. 

The results of my sheet-pan broil were delicious, if not quite authentic. At a real calçotada, the onions are flame-roasted over burning vine prunings. The blackened onions are wrapped in newspaper and served on clay roof tiles. To eat them, you hold the onion by the green leaves, strip off the charred outer layers, dip the white part into the romesco and lower the onion into your mouth. Bibs and paper napkins are essential accoutrements.  Under the broiler, the onions become nicely browned, not charred. 

Broiled, onions are not charred, but nicely browned.


To eat the roasted onions, strip off the outer layer, dip the stem into the sauce and dangle into your mouth.


More finger food--peel the shrimp and dip in the romesco.


Grilled asparagus is terrific with romesco.


Sheet Pan Broil

Shrimp
Sausages
Asparagus
Spring onions
Olive oil
Coarse salt
Romesco sauce (recipe follows)


Preheat broiler to maximum (500ºF- 570ºF)
Arrange onions, shrimp, asparagus on sheet pan.

Arrange the ingredients to be broiled on the sheet pan in a single layer. Drizzle with oil. Place the pan 4 inches from the heat source. Broil 5 minutes. Remove the pan. If the shrimp are done, remove them. (Replace with a second batch of shrimp, if desired.) Using tongs, turn the sausages. The onions and asparagus don’t have to be turned. Return the pan to the broiler. Broil 5 minutes more, until onions are tender and browned.

Serve the shrimp, sausages, asparagus and onions sprinkled with coarse salt, accompanied by romesco sauce.


Romesco Sauce
Salsa Romesco


Romesco is a sauce that goes with just about everything! It’s especially good with anything from the grill (barbecue)—fish, shellfish, steaks, chops, burgers, sausages. Serve it alongside a rotisserie chicken. Slather it on hard-boiled eggs or baked potatoes. Dress artichokes, asparagus, cauliflower, cabbage, green beans, mushrooms with it.

Ñora dried peppers.
     Ñoras are dried, plum-sized, sweet red peppers, not hot. You can use choricero peppers instead of ñoras. If neither is available, substitute 2 tablespoons of pimentón (paprika), not smoked.

     Like cooks everywhere, Catalonians add a “secret” ingredient to their romesco. Some ideas: a tiny guindilla (hot cayenne pepper); a little dried mint; red wine instead of vinegar; walnuts as well as hazelnuts and almonds; a few drops of anisette, and so forth. 

     Use more or less bread, according to how thick you want the sauce. Toast it or fry it before combining with the nuts. Nuts can be toasted or not. Roasting the garlic is optional. Roasting mellows its bite. If using raw garlic, decrease the quantity. Purists would make romesco in a large mortar. A blender makes the job easier.

Grind ingredients in mortar or blender.


3 ñoras (dry sweet peppers)
1/3 cup hazelnuts 
1/3 cup almonds (blanched and skinned)
1 slice of bread
1 head garlic (about 8 cloves)
2 tomatoes
1/3 cup extra virgin olive oil + additional for drizzling
1 ½ tablespoons Sherry vinegar
1 teaspoon salt
1/8 teaspoon hot (picante) pimentón (paprika)
1 teaspoon pimentón (paprika, not smoked)

Remove stems and shake out seeds from the ñora peppers. Place the peppers in a saucepan and add water to cover them. Bring to a boil and simmer 15 minutes. Remove from heat and let them soak 30 minutes. Skim them out. Reserve the cooking liquid in case it’s needed to thin the sauce.

Scrape pulp of ñoras.
     Split open the peppers and use a spoon to scrape out the pulp. There should be about 2 tablespoons. Discard the skins.

     Preheat oven to 400ºF.

     Spread the hazelnuts and almonds on a rimmed baking sheet. Place the bread on the sheet. Slice off the top of the head of garlic and place it on the sheet. Cut an X in the skin of the tomatoes and place them on the sheet. Drizzle all with a little oil.

Place the baking sheet in the oven. Remove hazelnuts and almonds when they are lightly toasted (10 minutes). Chop them coarsely. 

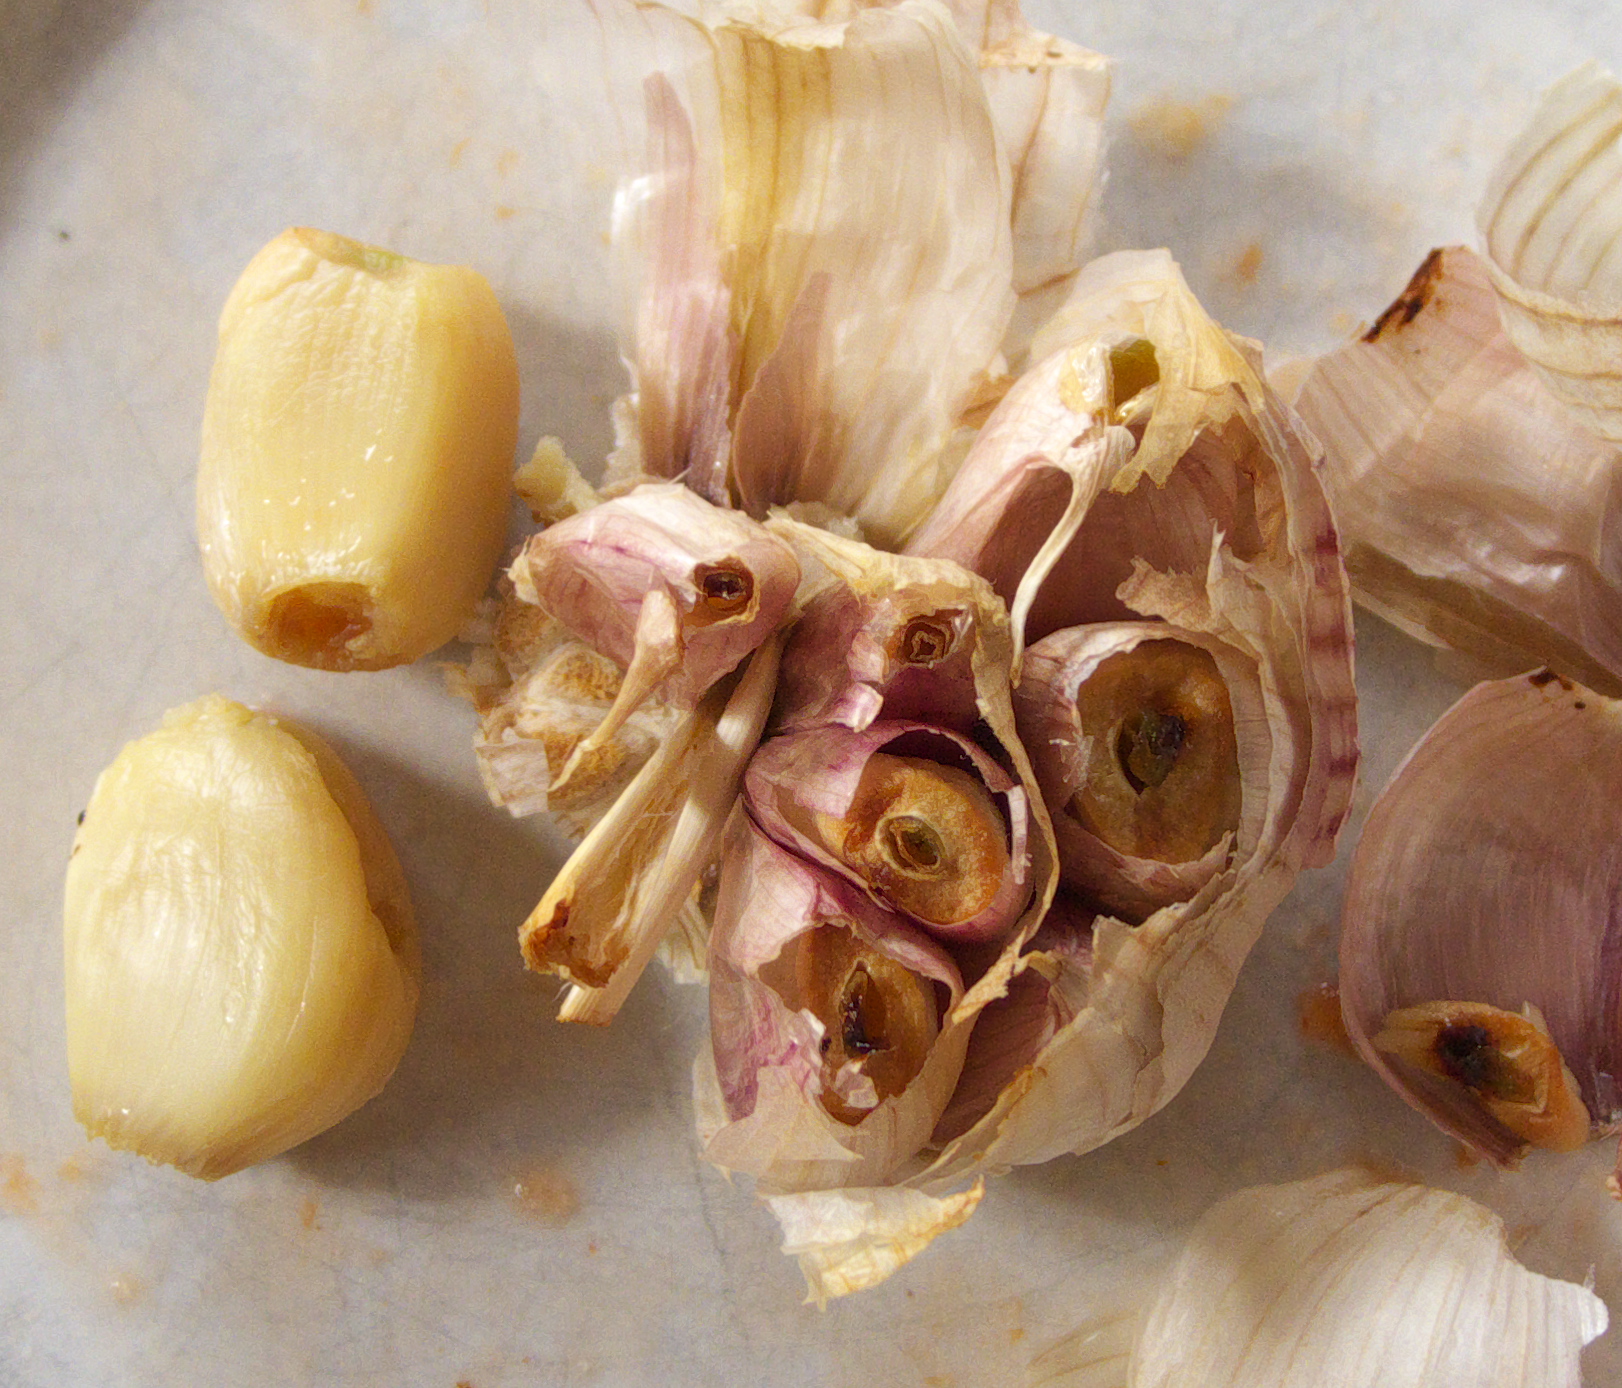
Roasted garlic.
Continue roasting the bread, garlic and tomatoes until bread is toasted and tomato skins split open, 20 minutes more. Remove and allow to cool.

Break the toasted bread into pieces and place in a blender container. Remove cores and skins from the tomatoes. Crush them into the blender on top of the bread. Remove garlic cloves from the skin and add to the blender. Pour in 1/3 cup oil, the vinegar and the ñora pulp. Add the salt, hot and regular pimentón, hazelnuts and almonds. Let the mixture stand 15 minutes to soften the bread.   Blend all the ingredients until smooth. If necessary, add additional liquid (reserved liquid from cooking the ñoras) so the blender runs smoothly. 

Taste the sauce and add additional oil, salt or vinegar if needed. 

Serve the sauce room temperature. Store it, covered and refrigerated, up to 5 days. Bring to room temperature before serving. 


Hold onion by the "tail" and dip it in the sauce.


Ben tries the calçot with romesco.


Other ways to serve romesco:


Two more versatile sauces with nuts and red peppers:


Saturday, July 13, 2019

WHEN LIFE GIVES YOU ONIONS—

Onions, straight from the fields. These are a gigante variety, very sweet.

I found a heap of onions on my kitchen cabinet the morning after my family had been to a friend’s finca (small farm), where they were harvesting onions. They brought a bunch back for me. Wow! What onions! The biggest one weighs 2 ½ pounds! What do you do with a 2 ½-pound onion?

I thought of an onion tart, such as the French pissaladière or Catalan coca. But, hey, it’s high summer. I don’t really want to turn on the oven. That’s when I came up with onion tortilla—same round, flat “omelet,” but instead of the classic filling of potatoes, I would use sliced onions.

Brunch, lunch or supper--this onion tortilla is an anytime snack or meal.


Tortilla is usually cooked "juicy" in the center. But, if you want to cut it into squares to spear on picks for tapas, cook it longer.


All-Onion Tortilla
Tortilla de Cebollas

The onions are not fried, but “poached” in a quantity of oil. Moderate the heat so that they gradually release their moisture and become tender. When they begin to brown and caramelize, they’re done. This will take 15 to 20 minutes, depending on how much moisture the onions contain. Drain them in a colander set over a bowl. Save the oil that drains off. You’ll need a spoonful of it to finish the tortilla. The rest can be saved for another use.

A trick to tortilla making: use a large, heavy skillet to cook the large volume of sliced onions (or potatoes) and a smaller, non-stick skillet to finish the tortilla. The smaller the pan, the thicker the tortilla. (I used a 10-inch skillet for a 1-inch thick tortilla.) You will need to adjust the cooking time accordingly. Tortilla usually is preferred “juicy” in the center, golden—not browned—on the outside. However, if you plan to serve it cut into squares and speared on picks as a tapa, cook it thoroughly so no juices run when it is sliced.

Before you start cooking the tortilla, have ready a flat plate that fits easily on top of the skillet plus hot pads, as needed. After the tortilla cooks on the bottom, you are going to place the plate on top of the skillet, hold it firmly in place with one hand and invert the skillet so that the tortilla is turned out on the plate. Do this over a bowl, to catch any uncooked egg and excess oil that might run out. The next step is to slide the tortilla back into the skillet, uncooked side down.  

Serve the tortilla hot or cold, for brunch, lunch or supper; as a side with ham and cheese. A salad of greens or sliced tomatoes is the perfect accompaniment.

It took 8 medium onions (from my own garden) to equal the 2 ½- pound whopper from the friend's finca.
2 ½ pounds onions
½ cup olive oil
½ cup diced red bell pepper
Red pepper flakes (optional)
Salt
Black pepper
5 eggs
1 tablespoon chopped parsley

Slice onion in julienne.

Peel the onions, cut them in half and slice them lengthwise (stem to root) in thin julienne.  (You should have about 8 cups slivered onion.)

Heat the oil in a deep skillet. Add the onions and sauté them on medium-high heat, stirring frequently. After 10 minutes, add the diced red pepper, red pepper flakes, if using, ½ teaspoon salt and freshly ground black pepper. Continue cooking the onions until they are very tender and beginning to caramelize, 15-20 minutes total. Place them in a colander over a bowl to drain for 15 minutes.

Beat the eggs in a large bowl with ½ teaspoon salt. Add the chopped parsley. Stir the drained onions into the eggs. 


"Poach" the onions in oil without browning.
Heat 1 tablespoon of the reserved oil in a non-stick skillet. Pour in the egg and onion mixture. Use a wooden spatula to turn the mixture two or three times, tilting the pan so uncooked egg runs under the mixture. Then allow it to set without stirring. Use the spatula to firm all around the edges. Let it cook until the top begins to appear cooked, about 5 minutes. The tortilla should brown very lightly on the bottom.

This tortilla has been turned to cook the reverse side. And, while I'm a pretty experienced tortilla flipper, using a brand new no-stick skillet, I let it slide off the plate on which I had inverted it (into a bowl, not the floor), causing the deep crease on one side!! 

Place a plate on top of the skillet. Hold it firmly in place and reverse the skillet so that the tortilla rests on the plate. If needed, add a little more oil to the pan. Slide the tortilla back into the pan to cook the reverse side, 3 minutes more. To remove it, lift one edge with a spatula and slide the tortilla out onto a serving plate.


More recipes for onions:

More variations on tortilla: